Following from last week’s article, Plyometric training (plyo) refers to the use of exercises where an eccentric lengthening of the muscle is rapidly succeeded by a powerful concentric contraction.
The elastic energy produced through these powerful contractions allow for an increase in force production, muscular power and running velocity/economy.
Yes, plyometric jump training can translate into not only jumping higher or further, but running faster as well. I should have every athlete in the room’s attention…
When programming plyometrics into a routine, one must consider the intensity of the activity you are asking the body to perform. Weightlifting aside, jump training alone can place a high level of demand on your muscles and joints. A proper warm-up is essential to prepare joints, ligaments, and tendons for the shock absorption demands required for any plyo work.
Personally, I am a big fan of:
· banded walk-outs,
· lateral steps,
· hip-thrusts,
· clam shells
Put a band around your knees and get that booty burning!
Before you even consider leaving the floor, be sure to master the primary positions:
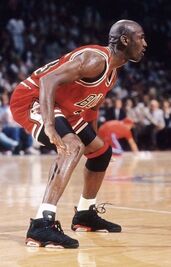
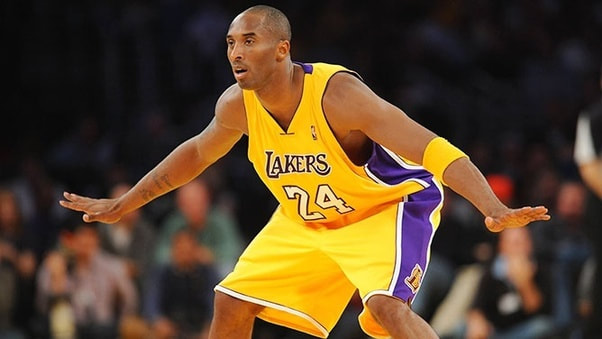
1. Athletic/Romanian Deadlift (RDL) position: this is the position you will be “grooving” during your warmup with the band. I live by the principal that, “if it feels funky, it probably is.” This skill can easily be practiced at home and performed static/without bands. My favorite cue here is to get into the same position as someone playing defense in basketball. Even if you never played basketball, we have all seen someone play defense in basketball- so not the NBA. If you have truly never seen someone play defense, “actually, I’m not even mad. That’s amazing!”
Your feet should be underneath your hips, butt back, slight forward torso lean, shoulders proud, back flat, weight evenly distributed through your feet. It sounds a lot more complicated than it is. Sitting back into your hips is square one to involving major working muscles, like your hamstrings and gluteals, and also saving your knees from unwanted stress.
2. Single-Leg Athletic/ Single-Leg RDL position: once you are comfortable on two feet, the same static position is needed from one foot alone. I address this skill in a dynamic warm-up with many of my clients and athletes. Balance and equal activation in both legs is critical for performance and injury prevention.
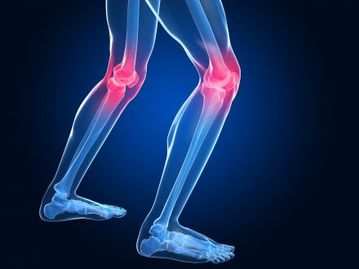
3. Snapdown: before you start to move (and especially before you start trying to move quickly), the static position must be mastered before you can perform a movement properly in a dynamic fashion. Snapdowns are simply putting that Double-Legged Athletic position into motion. Stand tall, reach for the ceiling, and quickly bring your hands down to the sides of your hips as you sit back into the RDL. Your hips, knees, and ankles all need to maintain healthy alignment- no knees caving in and your heels should be on the floor (weight distributed evenly throughout your feet, remember)!
4. Single-Leg Snapdown: I think you can see a trend, once you are proficient doing a movement with both legs, work on equal efficiency from each leg. Side dominance can easily lead to injury down the road.
* 1-4 have been compiled into a demonstrative Instagram video *
**The snapdowns can be progressed by pushing up on your toes while you are reaching for the ceiling at the top, then quickly bringing your hands down to your hip as you sit back into your RDL position.**
All of these drills serve as “skill builders,” therefore are very low on the intensity scale. Practice them while you are fresh and often before you consider advancing. Being able to sit into the athletic RDL position is a skill you must be able to do without even thinking about it if you want to improve your athletic ability.
Master these steps and you will be on the way to healthily attacking jump training with the ability to fully recruit the posterior chain, and maximizing the progression (and success) of your hard work. Stay posted as I will be diving in on how to implement and advance plyometrics into your routine in the weeks to come.




 RSS Feed
